Audio updates
The beautiful state of the recapped amplifier highlighted the terrible shape of the rest of the audio system. The speakers were rotten, the speaker wires were frayed, and the cartridge was rusted. On top of all that, the speaker grille was looking pretty rough.
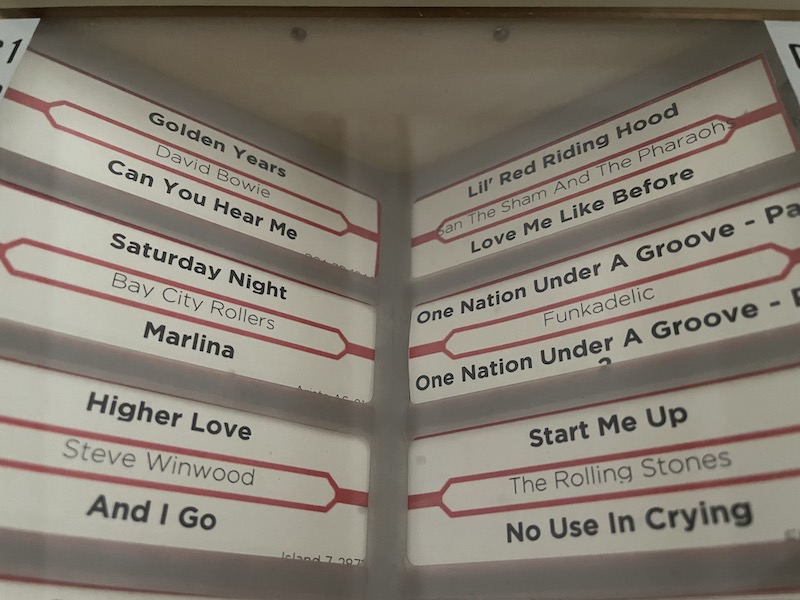
Starting with the speakers…
I removed the factory speakers and replaced them with:
- Celestion K12H-200TC
- Eminence Delta-12B
- Timpano TPT-ST3 (sold as a pair, but you only need one)
The low- and mid-range speakers bolt right up. However, the Timpano TPT-ST3 does not match up to the factory Wurlitzer 2700 mounting plate. I made a 3D printable adapter plate to attach the TPT-ST3 to the factory Wurlitzer 2700 tweeter mouting plate:
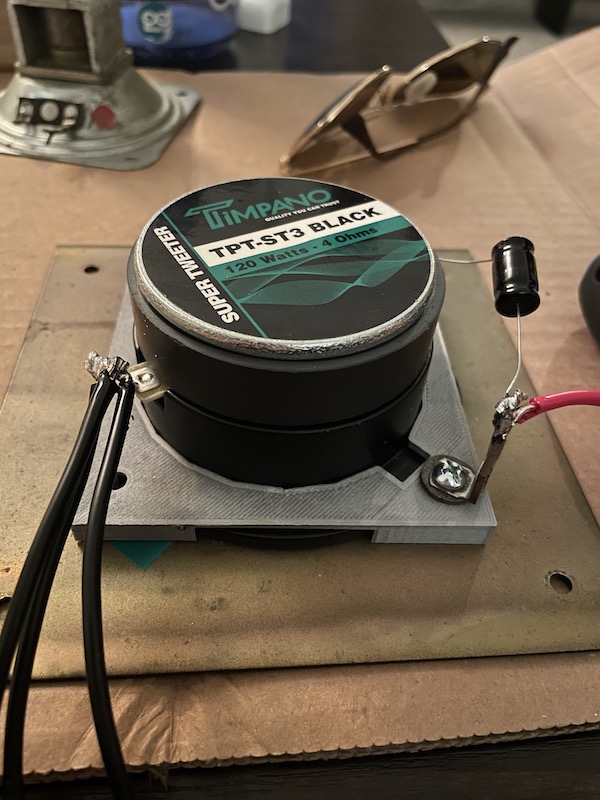
Factory speaker wire was replaced with 16 AWG OFC wire. The replacement wire is thicker than the original, and not all of the tie-downs could stretch around the new wire.
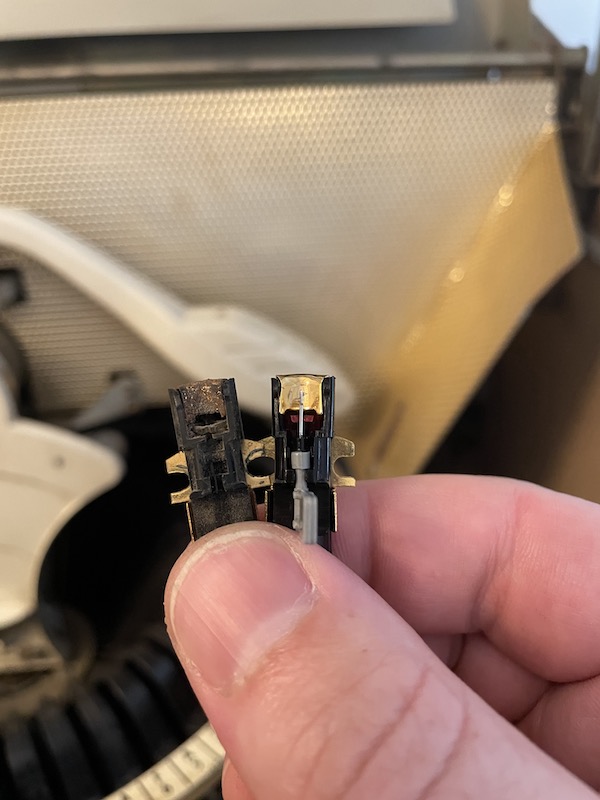
The cartridge was in bad shape, so I swapped it with a Sonotone 16T Cartridge, sourced from needles4jukeboxes.com:
Speaker grille cosmetics
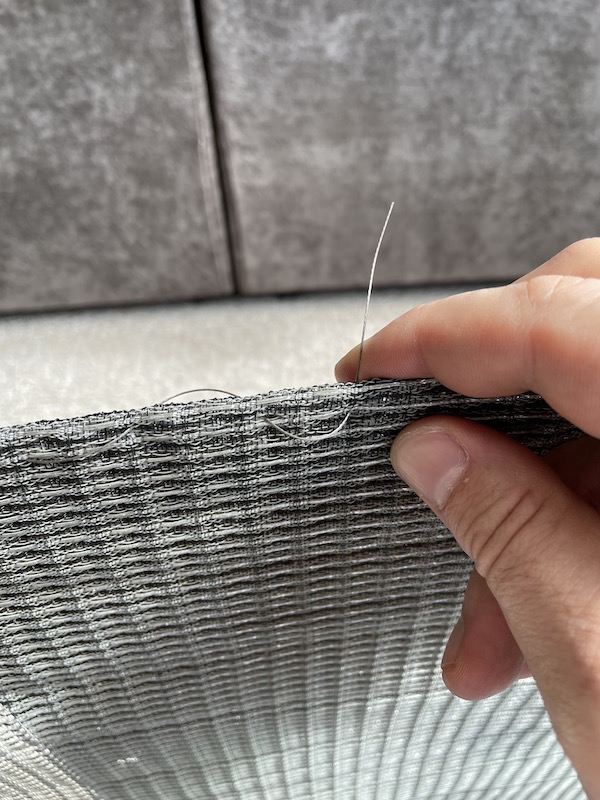
The speaker grille had dents and surface rust. The cost to have a media blasting company remove the rust was quoted at more than a hundred dollars. Given that removing the rust would still leave the dents behind, I opted to use a wire brush to remove the rust and cover the grille with speaker cloth. Speaker grill cloth was sourced from Amazon, and I went with the Fender black/silver style. Covering the grille was challenging for a few reasons. The edges of the grille are sharp, the cloth is stiff, and in the end, it needs to stay in place, without shifting/bunching/sagging for the forseeable future.
Here’s the process I used:
- Wrap the speaker wire over the edge of the grille.
- Use very thin wire to stitch through the grille and cloth, as close to the edge of the grille as possible.
- Trim the excess cloth from the back of the grille.
- Use a heat gun to tighten up any speaker cloth problem areas.
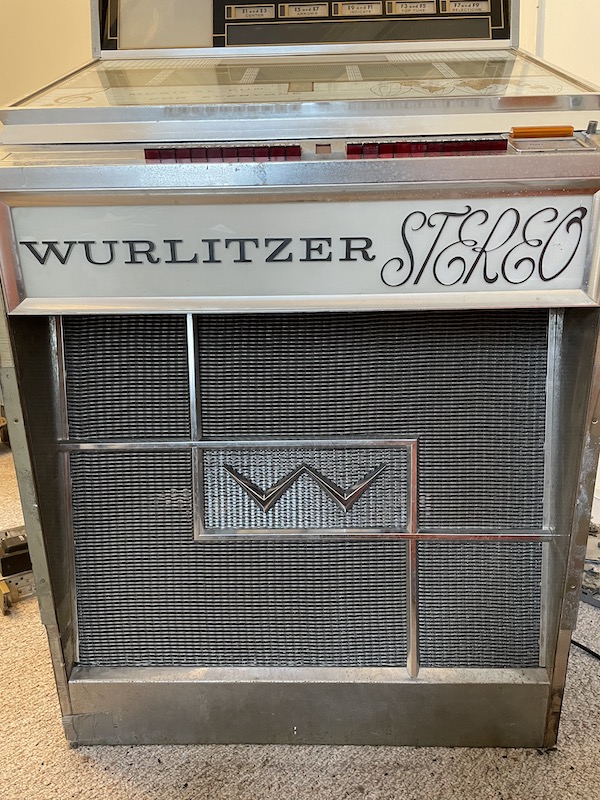
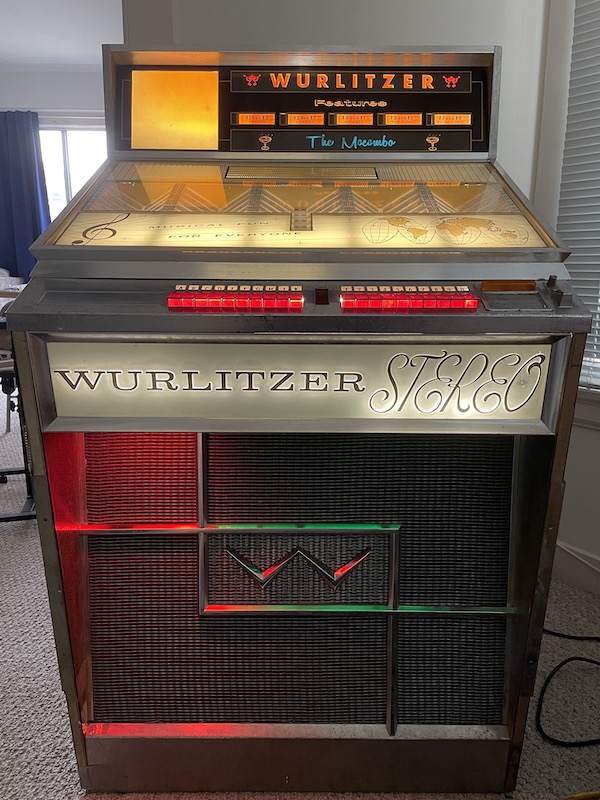
And with the party lights on, the new look really pops!
Free play switch
The free play switch (a spring-loaded SPDT slide switch) is buried under the keyboard, inside the cabinet. Not only is the coin equipment in questionable shape, I have no interest in dropping change into the machine.
I decided to relocate the free play switch to a more accessible place on the side of the cabinet. I removed the lock from the side of the cabinet and installed a pinball flipper button in the hole, which activates a SPDT switch, which is wired up in place of the original free play switch. Here are the details and STL file if you decide to make this modification on your own.
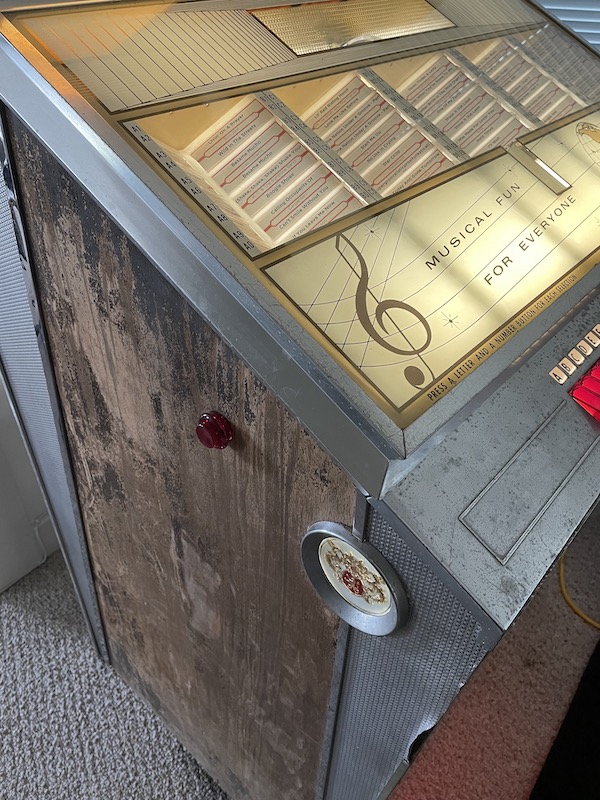
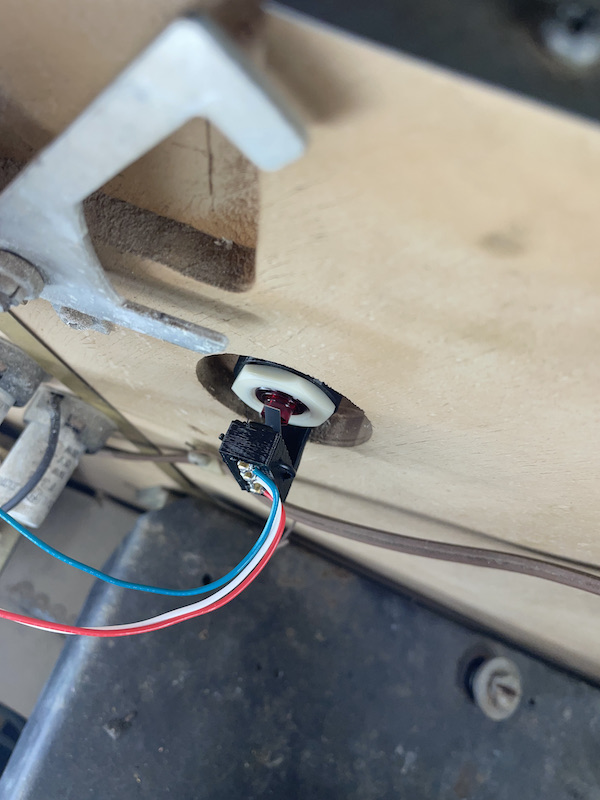
Transparent flipper buttons in this configuration don’t really catch much light from inside the cabinet because not much of the button is exposed inside the cabinet. An overall goal of this project is to avoid making any permanent modifications to the jukebox, so I didn’t cut the cabinet to fit the button. While the button doesn’t look bad the way it is, it would definitely catch more light if I were to enlarge the lock hole to fit the button better. The STL file referenced earlier assumes an unmodified cabinet. If you enlarge the lock hole to fit the button, you will need to increase the distance between the round plate section and the box end of the switch mount.